Sunday, September 23, 2012

Mini Jello cakes {Milk Free}

 
This sunday, my son gave me a wonderful idea! He asked if I could make him a cake with Jello gelatin dessert. He chose Berry and Lemon as his preferred flavors and we went to work ... These cakes turned out to be so moist and a bit gooey, which made it easy to mold into whatever shape. I had a lot of fun!! The cake recipe is at the end of the post.
A few things:
  1. Do mix cake batter completely before adding  gelatin
  2. I found it easier to divide batter into equal parts in different bowls to mix in gelatin before pouring into cake pans
  3. I used 5 tablespoons gelatin powder to 3 cups of mixed cake batter { I think using a whole box of gelatin might give a much too sweet cake}
  4. Stir gelatin gently into cake batter with a spatula
  5. You may add some food coloring { I skipped it, hence my "green" looking berry cake }
  6. Used two 8 inch cake pans
 
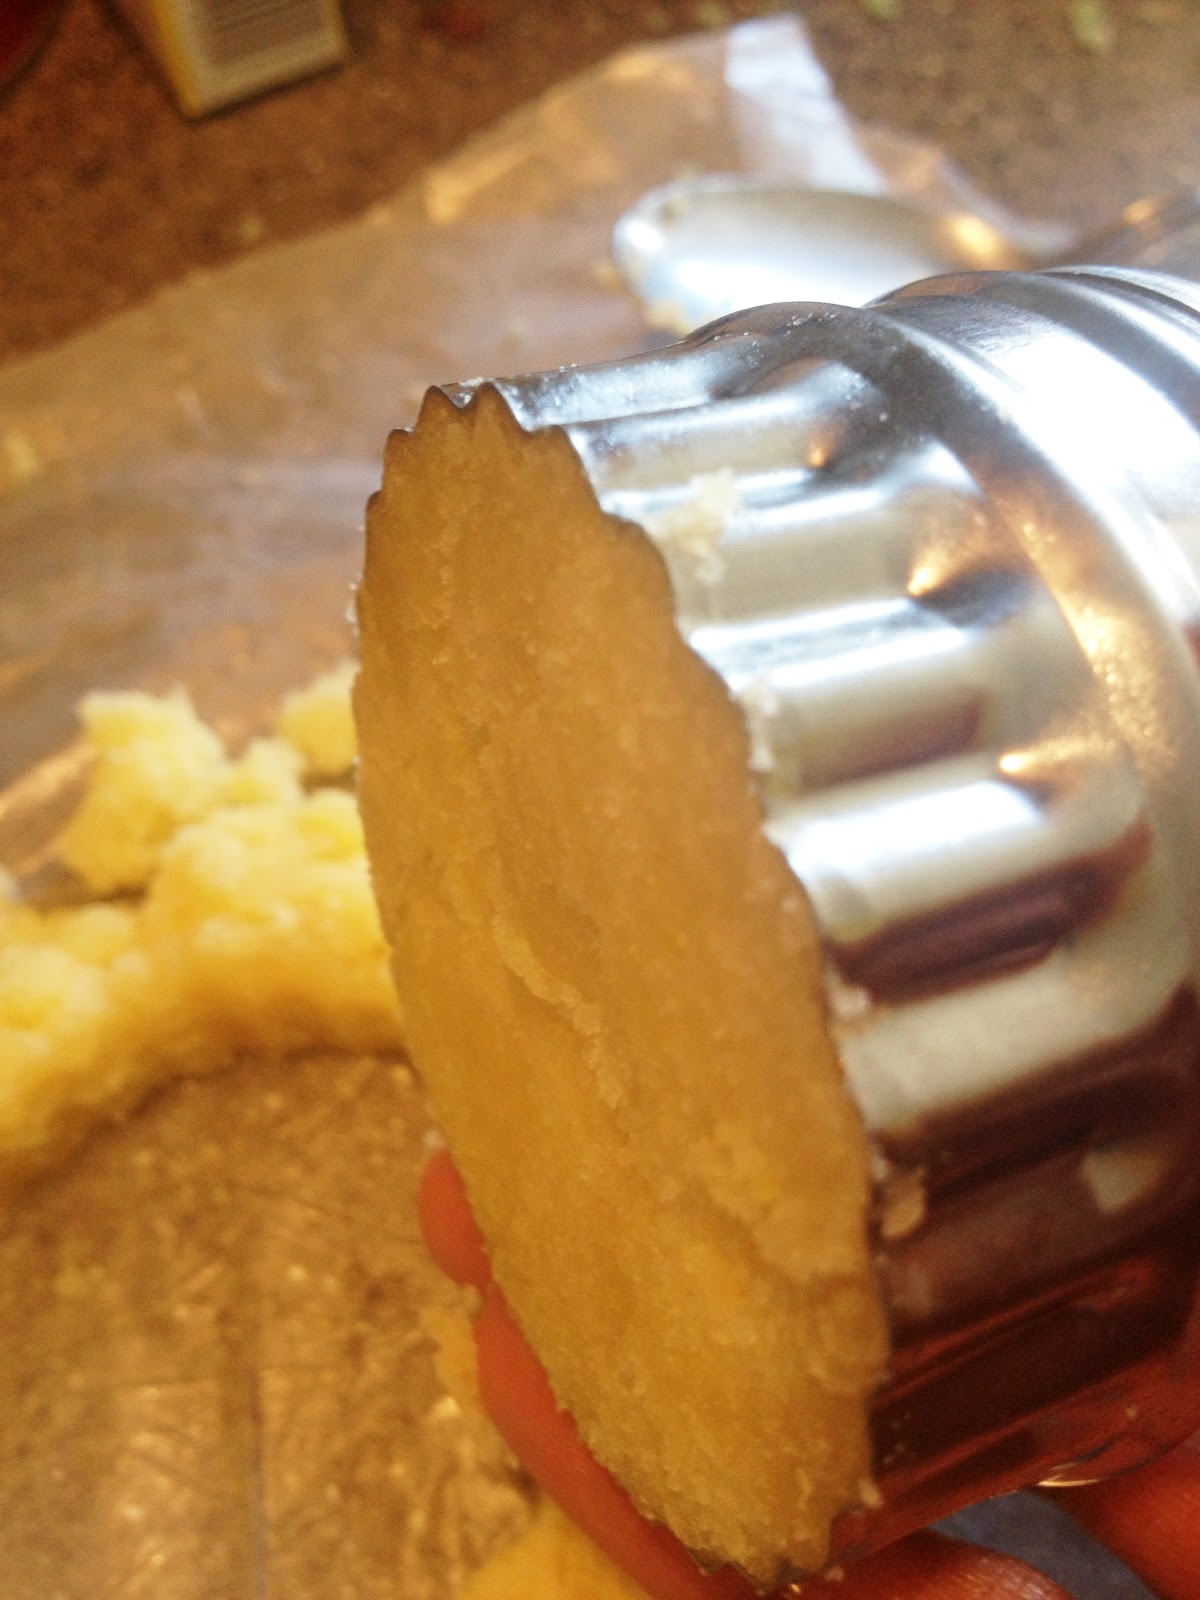
When the cake was done, I crumbled all of it on some wax paper, patted it down and cut with cookie cutters..He loved it!! The added bonus?:   the colors were his favorite team colors..GO MSU!


Cake recipe
2 and 3/4 cups all-purpose flour
2 and 1/2 teaspoon baking powder
1/4 teaspoon salt
1 cup{2 sticks} butter, slightly softened - I used soy margarine
2 cups sugar
4 eggs
1cup milk - I used water
5 tablespoons each of preferred flavored gelatin
 
Mix butter and sugar, till well bended, add eggs one at a time, mix well. Mix flour, salt, baking powder and add to wet mixture, alternating with water. Divide batter equally, add gelatin and
bake @350F for 30-35mins or till tooth pick inserted in center comes out clean.


Wednesday, September 19, 2012

Furniture adventure

 
Posted by Picasa
I am currently going through a romantic phase in my life. I am all into antiques, pearls, peonies , poems and vintage finds. I am working on transforming our basement guest room into my "vintagey", romantic hideout. {Will post pics in the future} So when I spotted this dresser at my local church thrift store, I knew I could make something out of it. I liked the mirror but was not totally in love with it. It had to come off..luckily all I needed for that was to unscrew bolts behind the dresser.
Then came removing the knobs, sanding,..lots of sanding, painting with a flat interior paint ..lots of patience and the lettering. My greatest challenge was getting the graphics on the wood. Thanks to wonderful tutorials via http://thegraphicsfairy.blogspot.com, {she has a list of 12 tutorials on how to transfer graphics unto practically anything} I pulled it off. I chose to use the blender pen method. Bought a colorless blender pen from Michael's.
The quote happens to be a favorite of mine, courtesy of Oscar Wilde. I am really amazed at how much loving myself liberates and allows me to give fully too. Anyway, back to the dresser. I typed it out on my Silhouette Cameo screen, picked a font, flipped it so the letters were backwards, printed and got to work with my blender pen. Again, I would refer you to http://thegraphicsfairy.blogspot.com for a tutorial on how it is done. Had to fill in the quote with a paint marker after the blender pen method just to make it easier to read.
 
There are a lot more pics to enjoy as you scroll down the page..


Related Posts Plugin for WordPress, Blogger...